10 Steps to a Perfectly Stamped Concrete Patio
Concrete is sturdy, versatile, and cost-effective, but aesthetically it can feel a bit cold and industrial.
That's where stamped concrete comes in.
Thanks to creative and technical innovations over the past few decades, homeowners can enjoy the functionality of concrete, alongside the stunning beauty of natural stone, brick, or wood.
While simple, stamping concrete is not easy.
If you dive right in without a plan, you might end up stuck with a heavy, unsightly concrete slab, riddled with cracks and imperfections. Follow the plan below and you’ll be set (pun intended).
Pro tip: make sure to rent the right concrete tools and equipment and buy top-of-the-line concrete sealer (hint: we only have the best!)

Step 1: Prepare the Subgrade
You might be tempted to focus all of your efforts on the slab itself, but the surface just below the concrete is equally vital to the long-term look and durability of your project.
Shifting soil beneath the concrete slab can cause cracking over time so it’s absolutely crucial to properly compact it.
You’ll want to remove topsoil, rocks, and any organic material before you get started, thoughtfully considering the intended depth of your concrete slab.
In some circumstances, soils can’t be properly compacted. In these cases, you’ll need to backfill the area with granular soils like sand and gravel.
The best tools for this job are either a hand tamper (for smaller areas) or a vibratory plate compactor.

Step 2: Place the Forms
The true magic of concrete comes from its ability to take nearly any shape.
For something like a patio, it’s easiest to start with a rectangular shape. To make that happen, you’ll need to build a form that holds the concrete in the correct dimensions while it hardens.
Put simply, it’s a wooden frame that establishes the outer perimeter of your concrete slab.
Once the form is laid out, you’ll nail it to wooden or metal stakes and drive it into the subgrade.
To prevent puddling and encourage drainage, consider which way you want your concrete slab to slope. For example, it’s best to have it slope away from your house.
It's also helpful to coat the wooden boards with a release agent to make them easy to remove once the concrete hardens.
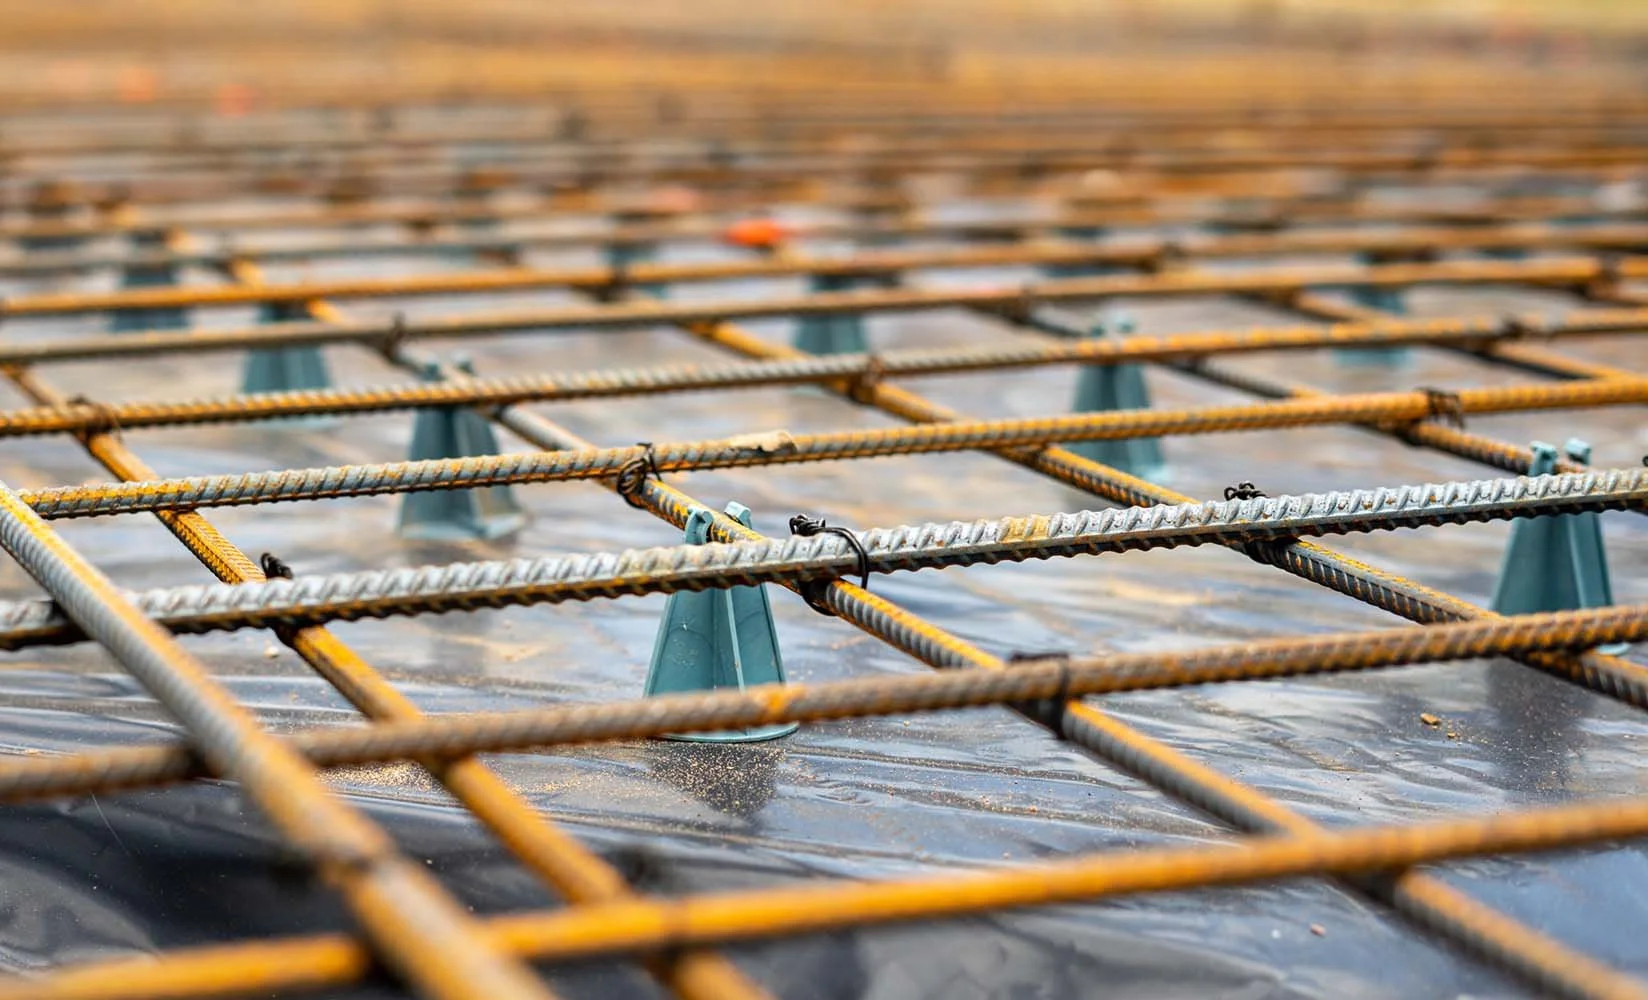
Step 3: Install Reinforcement
As the seasons change, concrete grows and shrinks. Without a little extra support, your slab might not hold up to the forces of nature.
Additionally, adding reinforcement can reduce the risk of cracking and help avoid costly repairs in the future.
Two popular options are steel rebar and welded wire fabric. The reinforcement helps hold cracks in place, preventing them from getting out of control.
Depending on your project, this step may be overkill. Slabs that are over 5 inches in depth or are likely to be exposed to heavy loads stand to benefit best from reinforcement.
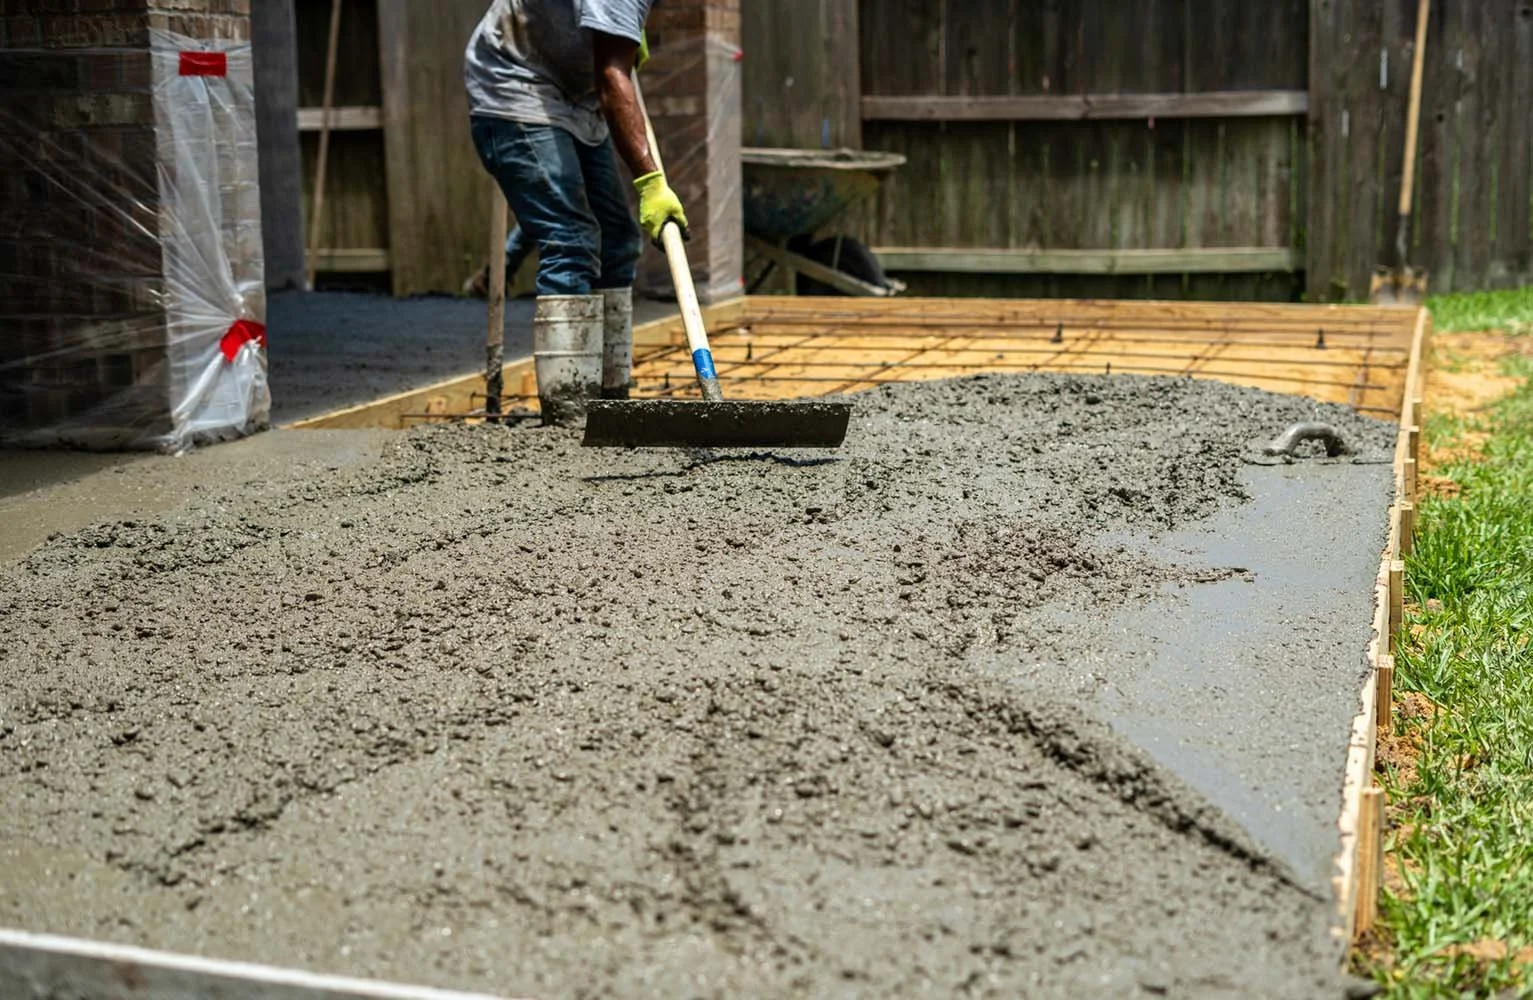
Step 4: Mix and Pour the Concrete
With the prep work completed, it's time to get to mixing.
The moment you add water to your concrete mix, the clock is ticking.
Depending on the concrete (and weather), the working time can be less than 60 minutes. You have a lot to do in that hour, so it's absolutely crucial that you have a solid plan and a few extra hands.
Here are some important tips:
For best results, choose a cool day and pour early in the morning. Temperatures between 60° F and 80° F are ideal. This is vital to prevent the water in the mix from freezing or evaporating.
For mixing, follow the instructions on the product's packaging or data sheet. Directions may vary from product to product.
If you're working with a small batch, you can mix in a wheelbarrow with a shovel, rake or hoe. For larger quantities, it's way more convenient to rent a mechanical concrete mixer
Add water to the mix as instructed by the manufacturer. Generally, you're looking to achieve a moldable consistency with no dry pockets or puddles.
Be careful not to add too much water, a soupy mix can decrease the durability of the final product and cause cracking.
Once you've got it all mixed, there's no time to waste. Pour the concrete into the form and use rakes or garden hoes to push it around.
You want the concrete to fill the form to full depth, taking care to push the material into the corners and low areas.

Step 5: Finish the Concrete
So you've got the concrete in the form, now it's time to ensure that it's smooth and level.
Start by leveling the surface using a straight edge (this is called a screed). Find a clean board (a 2 x 4 will work just fine) that’s able to reach all the way across the slab.
Drag the board from one side to another using a back-and-forth sawing motion until the surface is smooth and level.
Then, use a float or trowel to smooth out imperfections and achieve a smooth, professional finish.

Step 6: Add the Color
Much of the beauty of natural paving materials comes from subtle variations in color. Luckily, with concrete, you’re not stuck with boring, monochromatic gray.
You’ve got some options:
Integral color is mixed directly into the wet concrete before it’s poured. As a result, the color is distributed evenly throughout the whole depth of the slab. That way any chipping on the top layer doesn’t reveal an underlying gray color as it’s consistent all the way through.
Color hardeners provide more vibrant options than integral colors. These powders are hand broadcast (imagine a really low frisbee toss) across the surface of the concrete.
They’re often used in conjunction with integral color to add some variation. As a bonus, they make for a more durable concrete surface, which explains the name.
Liquid or powdered release agents serve a very practical purpose, they stop your stamps from sticking to the wet concrete. They also contribute some aesthetic value by imparting some subtle depth and color.

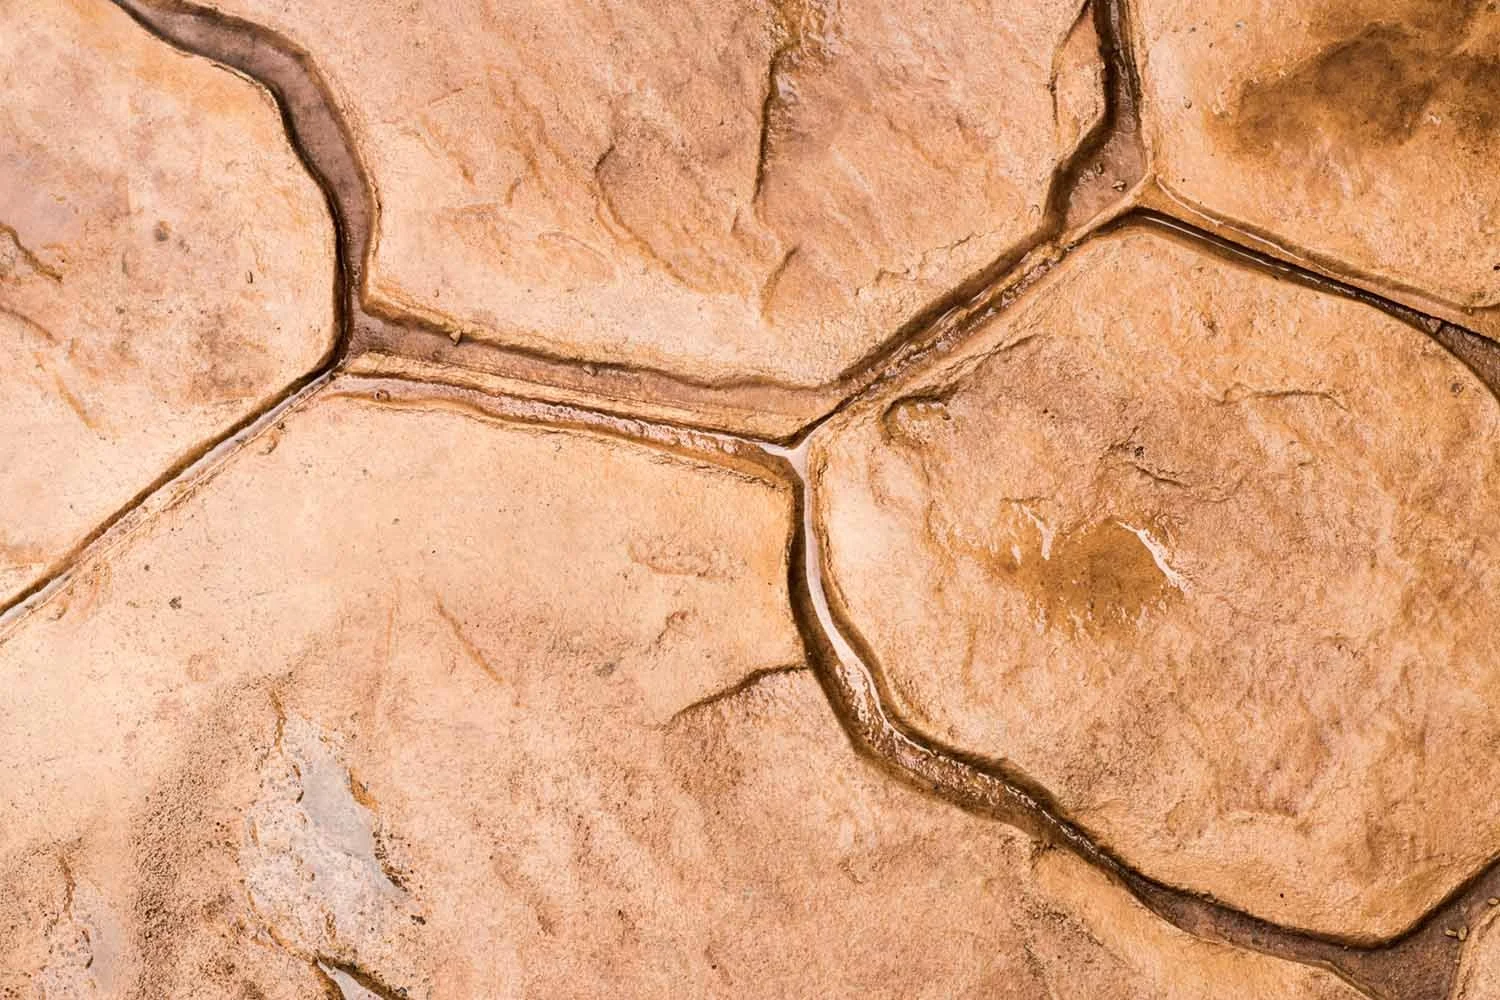
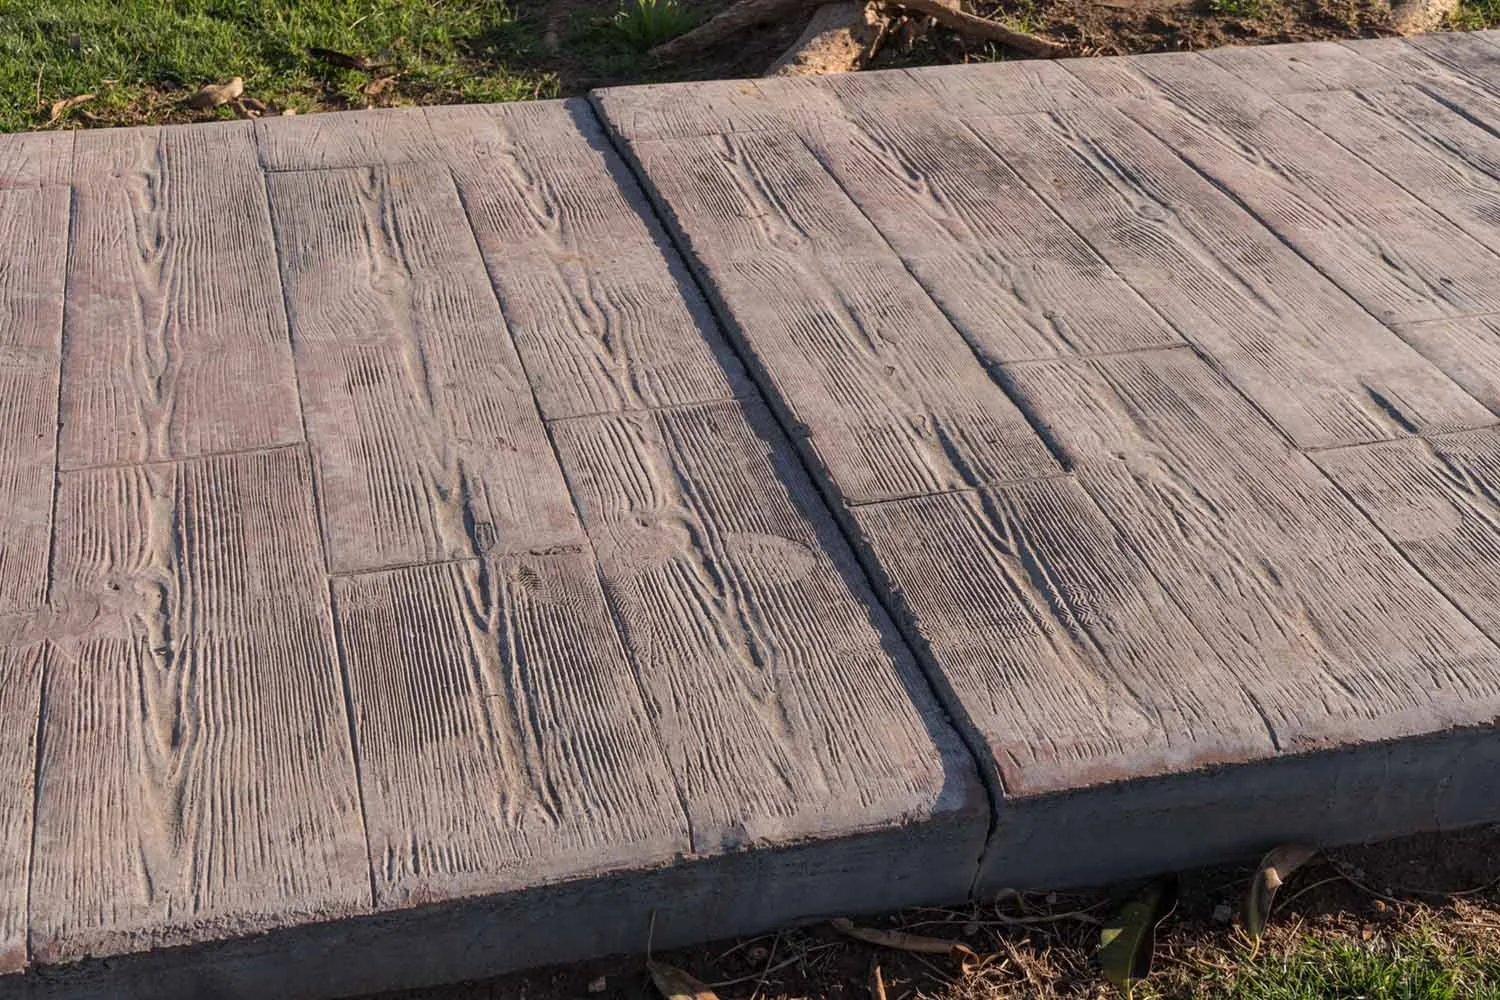
Step 7: Time to Stamp
Stamping is exactly what it sounds like. You press a textured form into the wet concrete to give it the look and feel of some other material. This could be brick, slate, stone, or wood. Be sure to check out our wide selection of concrete stamps.
For most surfaces this requires multiple stamps that fit together like a puzzle. Ideally, the resulting patterns look cohesive and continuous, but not too repetitive.
For larger surfaces, you'll have to reuse stamps by carefully repositioning them one-by-one as you go. Remember to use a release agent (as discussed in Step 6). This will keep the stamps from removing concrete as you pull them up.
Inevitably, there will be some places the full-sized stamps won't be able to fit (around pillars, up close to a house, along the edges of the slab, etc.). Manufacturers make special flexible stamps for hard-to-reach places. In some cases you might need to finish patterns by hand.
All of this requires careful planning ahead of time. Leaving decisions to be made on the fly can result in disaster. Remember, you're still working against the clock.
Step 8: Let it Cure
You might think concrete hardens because it's drying out. This is wrong.
Here's what's actually happening:
The H2O you added in Step 4 is a major player in a complex chemical reaction. The success of this reaction will determine the strength of your concrete.
Without enough water, concrete is prone to scaling, chipping and cracking (too much water can cause problems too).
Of course, that pesky water likes to evaporate, so you’ll need some way to maintain enough moisture while the magic happens.
Believe it or not, concrete can continue to harden for several years. Luckily, we just need to focus on the first 3 to 7 days.
You can start by taking control of the natural forces of evaporation. That means keeping your freshly poured slab shaded from the sun and installing windbreaks to block the wind.
You may be tempted to cover the concrete directly with a plastic film or tarp. This is a bad idea. They will leave a noticeable blotchy pattern on the surface of your concrete. Instead, use wet curing blankets specifically designed for this purpose.
If you've got the time, you can try a water cure. Spray or mist the surface 5 to 10 times daily for a week.
The most straightforward, fool-proof approach is to utilize a curing compound. This forms a membrane over the fresh concrete and prevents water from bleeding out and evaporating.
Step 9: Add Control Joints
For concrete, cracking is inevitable.
By thoughtfully placing control joints, you can force the concrete to crack where you decide. When joints are placed correctly, cracks end up in straight lines below the surface. This minimizes their effect on the overall look and feel of your concrete.
You'll want to cut your joints within 24 hours of the initial concrete set.
In hot weather, making the cuts between 6 and 12 hours will help avoid cracking.
The timeline can also vary depending on what type of saw you're using. If you're not sure about the timing, do a test cut. If the blade leaves a jagged, messy edge, you could be too early.
Distances between joints are commonly 24 to 30 times the thickness of the slab.
For example, joints on a 5" slab should be placed 10' to 13' apart. They should be cut to a depth 1/4 of the slab’s thickness.
Carefully consider the design of your stamped concrete when determining joint placement.
Ideally, joints should align with natural gaps in the stamp pattern.
You can also consider placing them in areas that will be obscured by furniture or rugs.

Step 10: Seal it!
After all this work, you'll want to make sure you're doing everything you can to keep your concrete looking fresh and vibrant for years to come.
That's why sealing is a must.
Without it, the look of your concrete will quickly degrade as stains from dirt, leaves, and the weather quickly accumulate.
Sealers come in a variety of sheens (matter, semi-gloss, high-gloss) and generally will enhance the clarity and intensity of the surface colors.
You'll want to wait a month before you hit the slab with its first coat of sealer. It should be applied to dry, clean concrete when the air temperature is above 50 degrees.
We hope this post has inspired and educated you on building your own stamped concrete patio. And be sure to contact K&K for your concrete sealer: